Showing posts with label studio calico. Show all posts

Sunday, July 24, 2016

SAF 2016: Watercolour like a Master

The uber talented Kay Miller did a fabulous video on how to stamp and watercolour.  She made it look so easy ... I had quite a time with this one but just went with it and decided to post my rather un-masterful creation!!
I cut a panel of Strathmore 300 series cold press paper for my watercolouring.  I grabbed one of my favourite sets - Natural Beauties and stamped it using yellows and oranges from Studio Calico dye inks.  I added some smaller flowers in pinks and then leaves in a mint colour.
I used my aqua brush to move the colour around and heat set it several times between layers.  I then added the detail stamp using Versafine Smokey Gray ink.  I splattered some Heidi Swapp Gold Shine Spritz all over and misted the panel as well.
I added a Fillable Frames sentiment using Versafine Onyx Black and foam mounted the panel onto a piece of woodgrain card stock in white.  Lots and lots of foam tape to flatten the watercolour paper down!!

Even though I am not loving this card, I decided to post it anyways ... maybe I will try my hand at this technique again tomorrow ... we'll see if I have time.


Have you ever used woodgrain card stock?  It is beautiful and the texture is sooo nice!!  I bought and split two packs (the dark chocolate and white) with a friend.  I bought it here at LCI Paper.  I am thinking of getting the grey next ...

Check out my sale of stamps and dies here:
http://cardsbycara.blogspot.ca/2016/05/stamp-set-sale.html

Saturday, July 23, 2016

SAF 2016: Starry Night

Stamp-A-Faire is off to a great start with the Starry Night challenge with Amy Sheffer's tutorial.  Wow, what an amazing card she created! I had a lot of issues creating the trees but just went with it ...
I sponged Fresh Ink in the following colours all over a piece of Strathmore 300 series cold press watercolour paper: Tuscan Olive, Sugar Plum, Navy, Turquoise, and Blue Sage.  I spritzed with a mini mister and moved the colours about, adding some more of the deeper hues.
I used some cheap watercolours from Michaels and my trusty aqua brush to paint the horizon .  I had a lot of difficulty with the trees and a sponge so had to make the area bigger to cover my mistakes! I am still not in love with the trees I created but I did my best.
I flicked some Studio Calico opaque white and Distress Ink dauber in pewter.
I added a die cut from Scripted cut in Staples grey and shimmered with my Wink of Stella clear pen.  I tried to make a thread nest but to no avail so I just added some star and silver sequins gifted to me by a kind forum friend.  I added a foam panel behind the watercolour piece and mounted it to a 110lb Recollections card base.

Check out my sale of stamps and dies here:
http://cardsbycara.blogspot.ca/2016/05/stamp-set-sale.html

Sunday, January 11, 2015

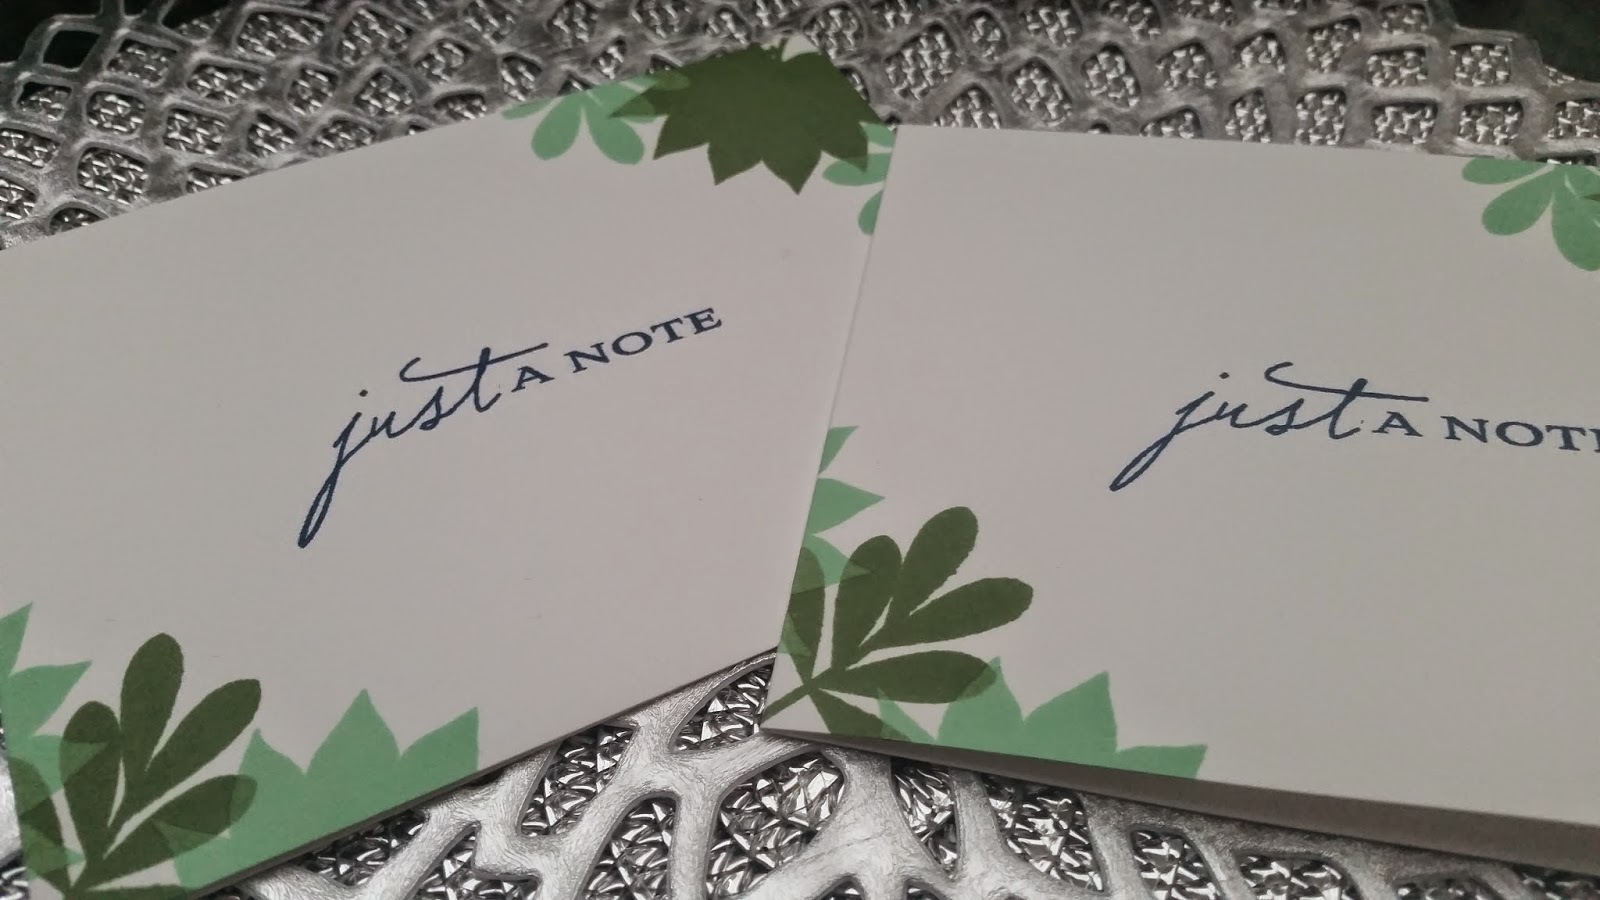
PTI Make it Monday #196 - Colourful Corners: just a note

One more creation for the corner stamping challenge over at Papertrey Ink:
I used a couple of Studio Calico Colour Theory inks for the dandelion starbursts from Botanical Silhouettes and a sentiment from the same set in Déjà Blue.  Simple and one layered!

Saturday, January 10, 2015

PTI Make it Monday #196 - Colourful Corners: Thank You

 I made some simple cards for some card sets I have orders for - stamping some simple images in the corners for this week's Make it Monday over at Papertrey Ink.
I took card bases of 110lb white Recollections card stock and added a Botanical Silhouettes sentiment using Fresh ink in navy.  I then added some Leave it Be images in Fresh blue sage.
I smudged one of them by mistake but decided to hide that by stamping a graph background from Studio Calico.  Like magic, you can't see it! :)

Thursday, January 8, 2015

PTI Make it Monday #196: Colourful corners - just a note

Happy 2015, everyone!!  Hard to believe another year has passed ... where does the time go?

This week's Make it Monday over at Papertrey Ink is perfect for me since I have a few card sets to make as gifts and I love stamping the corners of cards.
I took out a tool I purchased in the fall that works wonderfully when you are making more than one card - the MISTI.  I posted about it a while back here where I did an ombre inking technique.
I usually have difficulty with clear stamps and dye inks but with the Misti, you can restamp and get a super solid image - take a look at the closeup:
Impressive, right?  So nice and solid!  I used my Studio Calico Colour Theory inks in Déjà Blue, Mint Hint and Yes, Peas to stamp the leaves from Leave it Be and the sentiment from the anniversary set, Botanical Silhouettes onto 110lb white Recollections card bases.

Monday, October 13, 2014

Runway Inspired Challenge #69 - shades of yellow and gold


This Runway Inspired Challenge is gorgeous and completely different from colours I usually use ... I love challenges that make me stretch my creativity ...  I took the light shades and tones as my inspiration and the randomly spaced stars (I think?) in the background as a jumping off point.

So here's my humble take on the colour scheme:
I kept it very light and avoided any black, even though it is in the picture - wanted it to be shades of yellow, gold and ... more gold!  My based (Recollections 110lb white) has a popped up stamped layer using Studio Calico colour theory's yellow ink and Brilliance Galaxy gold for some shimmer.
The circles are all Winnie and Walter's Big Bang Confetti and the sentiment is a Zing Gold Tinsel embossed holiday greeting from Papertrey's Wet Paint Holiday collection.  I am trying to get an early start on holiday cards so used this inspiration as a jumping off point.
You can sort of see the sparkle of the Zing embossing powder here and the circles that look darker are actually the Galaxy Gold ink - hard to capture the shimmer!  It's a cool embossing powder because it's a hybrid between the gritty chunkier look of glitter and the smoother heat embossed finish.  It was my first time using it and I was pleasantly surprised with how easy it was to use.  Some of the glitter embossing powders are a pain to work with.
I have been using a lot of foam tape in the roll - love the fact that the profile is a bit thinner so things are more likely to stay in one piece in the mail ... :)

Have you started your holiday stash of cards yet?

Sunday, February 23, 2014

WPlus9 Trend Watch: Hello there

WPlus9 is having a Trend Watch Challenge and I decided to join in.  Here's some of the inspiration:
I kept my card simple and stamped some feathers that I painted with watercolours to stamp with and then layered over some outlines.  I misted the whole card front with  Studio Calico shine for a little extra sparkle - hard to capture on camera, but it's there ... promise! :)

Here's a shadowy shot:
And a closeup trying to show the shimmer:

So what trends have you tried out?

----
Check out my crafty sale if you like:
http://cardsbycara.blogspot.ca/2013/06/crafty-sale.html

Oh, and here's a look at all the Jenni Bowlin colours in their glory:

Supplies:
Paper: Recollections 110lb white
Stamps: WPlus9 Fanciful Feathers
Ink: Jenni Bowlin Spiced Tin, Lavender Sachet, Speckled Egg
Misc: Mister Huey's  Studio Calico shine mist

Saturday, August 31, 2013

Baby shaker card

My little niece was born last week and her name was announced yesterday - Clarissa Elyse.  Isn't that gorgeous?  I wanted to make a card to welcome her into the world so decided to make a shaker card.  I punched some hearts using Lawn Fawn and Studio Calico patterned papers and added some iridescent sequins and sparkly vanilla ones. 
I cut a die cut using PTI's Fabulous Frames and heat embossed it with Versamark and  Zing embossing powder using the Hero Arts Alphabet pattern cling stamp.  The banner is PTI's Bountiful Banners and I used a Lawn Fawn alphabet stamp for her name.

While I had her name on the clear block, I stamped it on a few spare die cuts I already had - a Fillable Frames from PTI and a Kraft tag from Michaels.
Supplies:
Paper: LCI woodgrain, PTI Hawaiian Shores, Lawn Fawn and Studio Calico patterned paper
Stamps: Hero Arts Alphabet pattern cling stamp, Lawn Fawn alpha
Ink:  Versamark, Memento Nautical Blue
Misc: Zing embossing powder, PTI Bountiful Banners die, PTI Fabulous Frames die, heart punch, sequins 

Thursday, August 29, 2013

Enjoy your day

I created a card for a fellow crafter and since she wanted to know how it was done, I will share the process.  I took a piece of black card stock and cut it using my Big Kick and this full card triangle die:
I adhered it to a white card base using Tombo Mono Multi glue which has a thin tip and works well for this sort of application.  I stamped the sentiment and feathers using Hero Arts Tide Pool ink and VersaMagic Aquatic Splash before impressing it with one of my favourite impression plates to add texture - the Papertrey Book Print impression plate:

If you click on the picture below to enlarge it, you can see the texture it adds:
I used an exacto knife to cut out one row to make space for the sentiment.

Thanks for the interest in how to make it! :-) Hope that answers any questions you might have ...

Supplies:
Paper: Staples 110lb white, Papertrey Black
Ink: Hero Arts mid tone Tide Pool, VersaMagic Aquatic Splash 
Stamps: Studio Calico Love This
Misc: Papertrey Book Print impression plate, Simon Says Stamp full card triangle die, Tombo Mono Multi glue

The tags are Project Life grid cards using the same stamp set above and Papertrey's To You From Me set.  I have some of the journalling cards for sale here as well as stamps and an impression plate:
 my sale page here


Saturday, August 24, 2013

SAF 2013: Rolled Dough Designs

I picked up some Delight Paper Clay after going out for dinner last night to try today's technique using this product.  It is fast drying and super light which makes it perfect for cards.  I was going to use my Damask Snowflake die to make an ornament but went in a totally different direction.
I used the lower case alpha dies to die cut an 'x' for my nephew, Xavier.  I stamped it with the herringbone pattern from the Mat Stack collection 
I added it to a Mat Stack stamped die cut using Fresh Turquoise ink and an Enchanted Evening mat.  I put on some foam dots adhered behind before adhering it to a Staples grey card stock base that I impressed with the Herringbone impression plate.  Love the texture that adds!         
I stamped an envelope with some trucks and cards from a baby boy Fiskars set - he just adores any mode of transport whether it be trains, trucks, vans .... you name it, he loves it! :-)     

My next card up is a birthday card using some more paper clay.  For this one, I die cut a Notched Flower which I stamped with the BB: Newsprint stamps in French Lavender Fresh ink.
I matted a piece of PTI patterned paper (a purple graph background) to my Staples grey card base and added a Double Ended Banner die cut in Smokey Shadow.
I added a Wonderful Words: Birthday die cut using cork and stamped a coordinating envelope with Modern Wood Mats - such a stylish set!!

I also made a card for my cousin - she loves pastel colours so I went with a muted hues:
I used a piece of Studio Calico's Snippets 6x6 paper pad - love those polka dots!  I adhered that to my card base and then added some silver twine and a woodgrain embossed Beautiful Blooms II die cut in Aqua Mist.  I added my ubiquitous foam dots to the die cut before adding the Postmarks stamped 'k' to the front.
So what have you created with paper clay?  Share your links and tips below! :)

-------
If you are looking for some crafty supplies, check out my sale page here to see if anything catches your eye.  I've got grid journaling cards, an impression plate and some stamps! 
------
Supplies:
'x' is for Xavier
Paper: PTI Enchanted Evening, Staples grey
Ink: Fresh Sky Blue, Turquoise
Stamps: PTI Mat Stack collection
Misc: Delight paper clay; PTI Herringbone impression plate, lower case alpha die, mat stack and layerz, foam dots

birthday
Paper: Staples grey, PTI patterned graph paper

Ink: Fresh French Lavender
Stamps: PTI BB: Newsprint
Misc: Delight paper clay, cork; PTI notched flower die, PTI double ended banner die, PTI Wonderful Words: birthday die; foam dots

'k' is not for cousin
Paper: PTI Aqua Mist, Studio Calico Snippets 6x6 paper pad
Ink: Fresh Fuschia
Stamps: PTI BB: Postmarks
Misc: Delight paper clay; PTI Woodgrain impression plate, lower case alpha die, foam dots, silver twine

Saturday, July 27, 2013

Runway Inspired RIC#40: Stella McCartney

This colour combo is so not my usual so I thought it was perfect to challenge myself. 

I pressed some Studio Calico Hearts and Arrows wood veneers into ink - Fresh red currant and mango and since I didn't have a bright enough yellow, used some dollar store pearlescent paint.  I added some Rock Candy Stickles for a little shine.
I made a little mistake on the sentiment - I meant to stamp the U in Hero Arts mid tone wet cement and then layer the rest in Versafine Black Onyx over top but stamped the U in black first so reworked the whole thing a bit.  Oops!  To get the gray part all in one line, I covered some of the words with washi tape before stamping into the ink pad and then removing it to stamp on the card.  This is another way of masking sentiments.  (The sentiment is configured in a stacked row so I had to get creative unless I wanted to cut it apart ...)

Supplies:
Paper: Staples 110lb white
Stamps: PTI Live Love Life
Supplies: Versafine Black Onyx; Fresh red currant, mango; Hero Arts mid tone wet cement
Misc: Studio Calico Hearts and Arrows wood veneers, dollar store yellow paint, Glossy Accents

------

My next card also features Live Love Life from PTI's uber talented Maile Belles:
I stamped the sentiment repeatedly using Hero Arts mid tone wet cement and Versafine Black Onyx before adding the hearts in red currant, mango and harvest Fresh inks.
Supplies:
Paper: Staples 110lb white
Stamps: PTI Live Love Life
Ink: Hero Arts mid tone wet cement, Versafine Black Onyx, Fresh red currant, mango and harvest 

Thanks to RIC for the colour challenge!  Happy hopping to you all!  Oh, and if you are looking for some crafty supplies, check out my sale page here to see if anything catches your eye.  I've got grid journalling cards, an impression plate and some stamps!

Thursday, July 25, 2013

Papertrey July Blog Hop - colour combo challenge: fruits of summer #5

Here is another Papertrey blog hop colour combo - yum!  A very citrusy array of tones:
This one is pretty straight forward with some layering of inks with Rosie Posie and Rosie Posie step 2 (Fresh harvest and mango).
 I added the sentiment with multiple inking using fuschia and merlot:
The sentiment is from PTI's Mini Blooms set.  Love the combo of sentiments!!  I decided it needed a little more oomph so I used my canvas impression plate - love the texture it adds.

For my next card, I did some splattering of inks here on this card which is definitely NOT my usual style!  I took a Project Life grid card (I'm selling some extras here) and misted it with Mister Huey's spray.
I added a sentiment in Fresh mango ink and three circles in hibiscus burst, scarlet jewel and melon berry.
Some splatters on the card base and a popped up grid card and that's it!

Do you need some journaling cards for your scrapbooking or stamps or impression plates?  Check out my sale page here for more details.

Happy hopping!  I love these colour challenges because they really get me to step out of my comfort zone and try combinations I might never usually reach for.  I always make a bunch of cards to see what I can do ... how about you?  Do you have difficulty with colour combos or are sketches more challenging?  How about inspiration pictures?