Showing posts with label dies. Show all posts

Saturday, August 26, 2017

Stamp-a-faire 2017 - Day one

Over at Papertrey Ink, the inspiration is flowing from all the amazing artists!
I started out using the colours and inspiration pictures to create some cards for the Take 10 challenge.
 Here is my first choice:
1 inspiration
I use a lot of turquoise and teal but rarely the yellowy orange shade so thought I would go out of my comfort zone.  That is why I like these kinds of challenges - they really push me!
 I did not love the layout I created for the butterflies but will still post .. I did some ombre stamping of the middle butterfly for a varied look of inking.
But then, after I finished the images I couldn't figure out where to put the sentiment!! Awkward placement perhaps, but ah well ...

Next I took a Soft Stone card base and used the same ink colours for a different look with Bold Bouquet.


 A bit of foam sheet and sentiment and that's it! :)
2 inspiration
inspiration source: Sostrene Grene
For this black and white combo, I immediately thought of my PTI patterned paper. I love the linen texture and all the designs!  I popped a striped piece up on a foam sheet and added a Wink of Stella shimmered hello die cut. Super simple but great for a more masculine feel!
I fell in love with this inspiration pic!! I never love my watercolouring attempts but just went with it and let the ink and water move as it wanted to.
3 inspiration
I took two Strathmore watercolour pieces of paper and used my Zig brush markers for colours and a paintbrush.I added a sentiment to each with some Fresh ink pigment (Provincial Grey).
It's hard to tell but I used Tsukineko Shimmer spritz and then blotted some off to add some water droplet effects.  Love the shimmer it adds!!
(mounted with foam sheet onto Enchanted Evening card base)

I got a perfect impression with the sentiments because I restamped multiple times with my trusty MISTI tool.  Otherwise it would not have been such a saturated sentiment on textured watercolour paper!
(mounted with foam sheet onto Soft Stone card base)

I'm looking forward to the rest of the challenges and will be adding some more cards to my stash as the weekend continues.  I have a packed weekend as it is so won't be able to participate in real time but I'll catch up!  
Happy stamping and hopping!

Saturday, March 25, 2017

Papertrey Make it Monday: Window Chipboard Sentiments

I had a great time making a birthday card for a friend using this week's Make it Monday video and inspiration.
I used the Feather Finery with Fresh ink silver lavender and blush inks.  I added the 'wishes' sentiment using Versafine Lagoon Blue.
I decided a little somthing more was needed so added a Studio Calico background grid stamp using Fresh provincial gray ink.  I die cut the birthday window and added a kraft chipboard sentiment, stacking the card stock up with five layers.

Congratulations to Stephanie for joining Papertrey and thank you for a wonderful first video! <3 p="">

Papertrey Ink: Blog Hop March 2017

How gorgeous is this month's inspiration picture over at Papertrey Ink for their blog hop?  Just love it:
The-Challenge  
Victoria johnson 8
Victoria johnson 8a
prints designed by the talented Victoria Johnson
I used the colours and floral pattern as my inspiration to make some simple backgrounds using lots and lots of inks.  Here are all the inks I used:
Avery Elle: Aquamarine, Mint to Be, Sapphire, Fog
Fresh: Sugar, Blush, Peony, Fuchsia, Provincial Gray, Blue Sage, Steel Blue, Mint, Sicilian Blue, Turquoise, Sky Blue

The first card I made into a Mother's Day card.  I die cut the stamped panel of Pretty Peonies with a stitched rectangle die and foam mounted it to an Enchanted Evening card base.  I added a double edged banner stamped with the Fresh Bouquet sentiment I love so dearly.
Simple and colourful!

I took the second background stamped piece and die cut it the same way.  I also foam mounted it to Enchanted Evening and added a scrap bird die cut I had been holding on to.
I really like this colour combination ... would usually not use all these colours but it's always a great chance to try something new.

Sunday, November 20, 2016

Papertrey Create along with us: November 2016

Papertrey Ink invites us all to be inspired by something created during the release and to use that as inspiration:
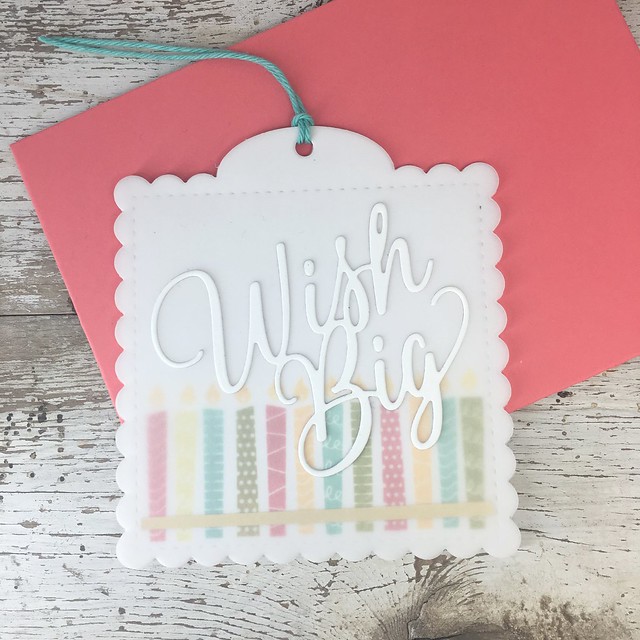
I loved Laurie Willison's use of vellum on her tags and used that as my jumping off point.
I took some Papertrey Christmas patterned paper and used it as my backdrop.  I stamped Holiday Swoosh sentiments and heat embossed with a fine gold embossing powder.
 I added cream twine and used one vellum stamped overlay (Vellum polka dots) with one patterned piece.  The vellum looks just gorgeous on top of the patterned paper and mutes it a bit.  I really love this effect!  Here's a closer look at the layer below:
How is your tag making going?  Making a dent in the holiday card stash too?  I have a ways to go but will keep on ...

I was so excited that the new blog I found, Muse Christmas Visions, also had vellum as its theme and sponsored the 25 Days of Christmas Tags:
In case you are looking for some stamps or dies, I have some on sale:

Papertrey Stamps and dies:
Background Basics: Vines – stamp set ($30 from the vault) --> $15 lowered to $12
Background Basics: Geometrics ($30 from the vault) --> $15 lowered to $12
Embellishments Coordinating dies ($8) --> $4
Stitches and Swirls - stamp set ($48 from the vault) --> $24
Christmas Pointsettia dies ($8) > $5
Damask Designs stamp set ($48 from the vault) > $24
Background Basics: Wrought Iron[/b] ($36 from the valut) > $24
Everyday Button Bits - images only - stamps $10

From other companies:
Tim Holtz - Flights of Fancy $8
Altenew Wild Hibiscus brand new $15 missing top left stamp 

Shipping available to Canada, US and International based on weight:
One sheet (Canada $1, US $2, International $3.50)
Two sheets (Canada $1.50, US $3, International $6)
Payment via Paypal.
All sets have minimal staining, if any, come with labels and are from a smoke free, pet free home. :)

Monday, November 14, 2016

Muse: Christmas Visions #70

I am trying to get as many holiday cards done as possible ... I have report cards coming up and won't have too much time.  I used this beautiful card as inspiration to make a Christmas card:
I took this card's use of patterned paper and a die cut over at Christmas Visions  as my jumping off point:
I took a piece of patterned paper and made a background, cutting a Memory Box edgers die from white Recollections card stock.
Then I heat embossed Papertrey's Holiday Swoosh in fine detail gold embossing powder.  I popped the white panel up on foam, spending time cutting little slivers to keep the trees up off the card base.  Thanks to Christmas visions for the inspiration!!  Lots more cards to go but now I have one more in my stash.

In case you are looking for some stamps or dies, I have some on sale:

Papertrey Stamps and dies:
Background Basics: Vines – stamp set ($30 from the vault) --> $15 lowered to $12
Background Basics: Geometrics ($30 from the vault) --> $15 lowered to $12
Embellishments Coordinating dies ($8) --> $4
Stitches and Swirls - stamp set ($48 from the vault) --> $24
Christmas Pointsettia dies ($8) > $5
Damask Designs stamp set ($48 from the vault) > $24
Background Basics: Wrought Iron[/b] ($36 from the valut) > $24
Everyday Button Bits - images only - stamps $10

From other companies:
Hero Arts – Friends $5 SOLD
Tim Holtz - Flights of Fancy $8
Altenew Wild Hibiscus brand new $15 missing top left stamp 

Shipping available to Canada, US and International based on weight:
One sheet (Canada $1, US $2, International $3.50)
Two sheets (Canada $1.50, US $3, International $6)
Payment via Paypal.
All sets have minimal staining, if any, come with labels and are from a smoke free, pet free home. :)

Monday, July 25, 2016

SAF 2016: Masterpiece Inspirations

Red Poppy, Georgia O'Keefe
I took my inspiration from this gorgeous poppy painting by the talented Georgia O'Keefe.  I white heat embossed Delightful Dahlia stamps on Strathmore cold press watercolour paper.  I mixed some deep reds with my aqua brush and filled in the flowers.
 I die cut the flowers and added green leaves stamped with Avery Elle celery.
 I popped these up on foam tape and added them to a woodgrain card base.
I watercoloured a piece of Strathmore paper die cut with a double ended banner and stamped the Don't Forget to Write sentiment in Versafine Onyx Black.  This was also popped up on foam tape for some dimension.

If you are looking for some gently used stamp sets, take a look here - new ones have been added.
http://cardsbycara.blogspot.ca/2016/05/stamp-set-sale.html


Saturday, July 23, 2016

SAF 2016: Gilded in Gold

Danielle Flanders knocked it out of the park on this one - loved this challenge!  I took out my gold paint since my gold leaf hasn't arrived yet and went to town.
 I cut four stitched tags out of kraft card stock and masked off an edge.  I then used a makeup sponge and the gold craft paint and painted a stripe on each.  I let them dry and then added Versafine Onyx Black stamped sentiments from Mini Blooms and Wet Paint.  I added another die cut for stability and glued the two together before punching a hole in each.
This gold paint gives some great sheen and I can't wait to use these tags!
For my next project, I took a die cut frame from the Don't Forget to Write kit and used a piece of thick perfume packaging.  I added gold to the edges and let it dry.
I cut a circle from dotted vellum and a Swoosh thanks that I also painted in gold.  I also used a Leave it Be leaf die cut in Staples grey that I stamped with Graceful Garden's thank you using Fresh ink in Tuscan Olive,  I layered these when everything was dry and adhered them using Tombo Mono Aqua.
I put lots of foam tape behind the frame and adhered it to a scalloped card base in Enchanted Evening cut from one of the Don't Forget to Write dies.

You can see in one of the pictures above I also painted an A2 kraft envelope to use for another project.  I loved using the gold paint and will definitely be coming back to this!

Check out my sale of stamps and dies here:

Friday, July 22, 2016

Stamp-A-Faire 2016: Share your masterpiece!

Nichole and the Papertrey Ink team are kicking of Stamp-A-Faire 2016 with a 'share your masterpiece' blog hop.  Even though I don't think this is a masterpiece per se, I do quite like it.
I cut a piece of Staples light grey cardstock with one of the frames and circles from the awesome Don't Forget to Write kit from the uber-talented Betsy Veldman.
I then stamped the bird from a limited edition set (Iconic Images) repeatedly using Fresh ink Blue Sage.  I popped up the frame with foam tape and added a Hello die cut using some anaglypta wallpaper.  I love the texture this adds!  The card is very monochromatic but I quite like the colour scheme.  My card base is some 110lb white Recollections card stock - love the weight it is!

If you are looking for some crafty items, check out my sale here:

Here's a shot from today in Vancouver, Canada.  Looking forward to Stamp-a-Faire tomorrow!  Can't wait to see all the techniques and everyone's creations!!

Saturday, June 25, 2016

Papertrey Ink June 2016 Blog Hop


                                                                                        artwork from Yellena James

I just love this month's inspiration picture over at Papertrey Ink.  I cut it down to the wire with my entry but here it is:
Whew!  Got it in 3 minutes before the deadline ... I was busy all day and didn't have a chance to make anything but when I got home, I thought I'd try anyhow!

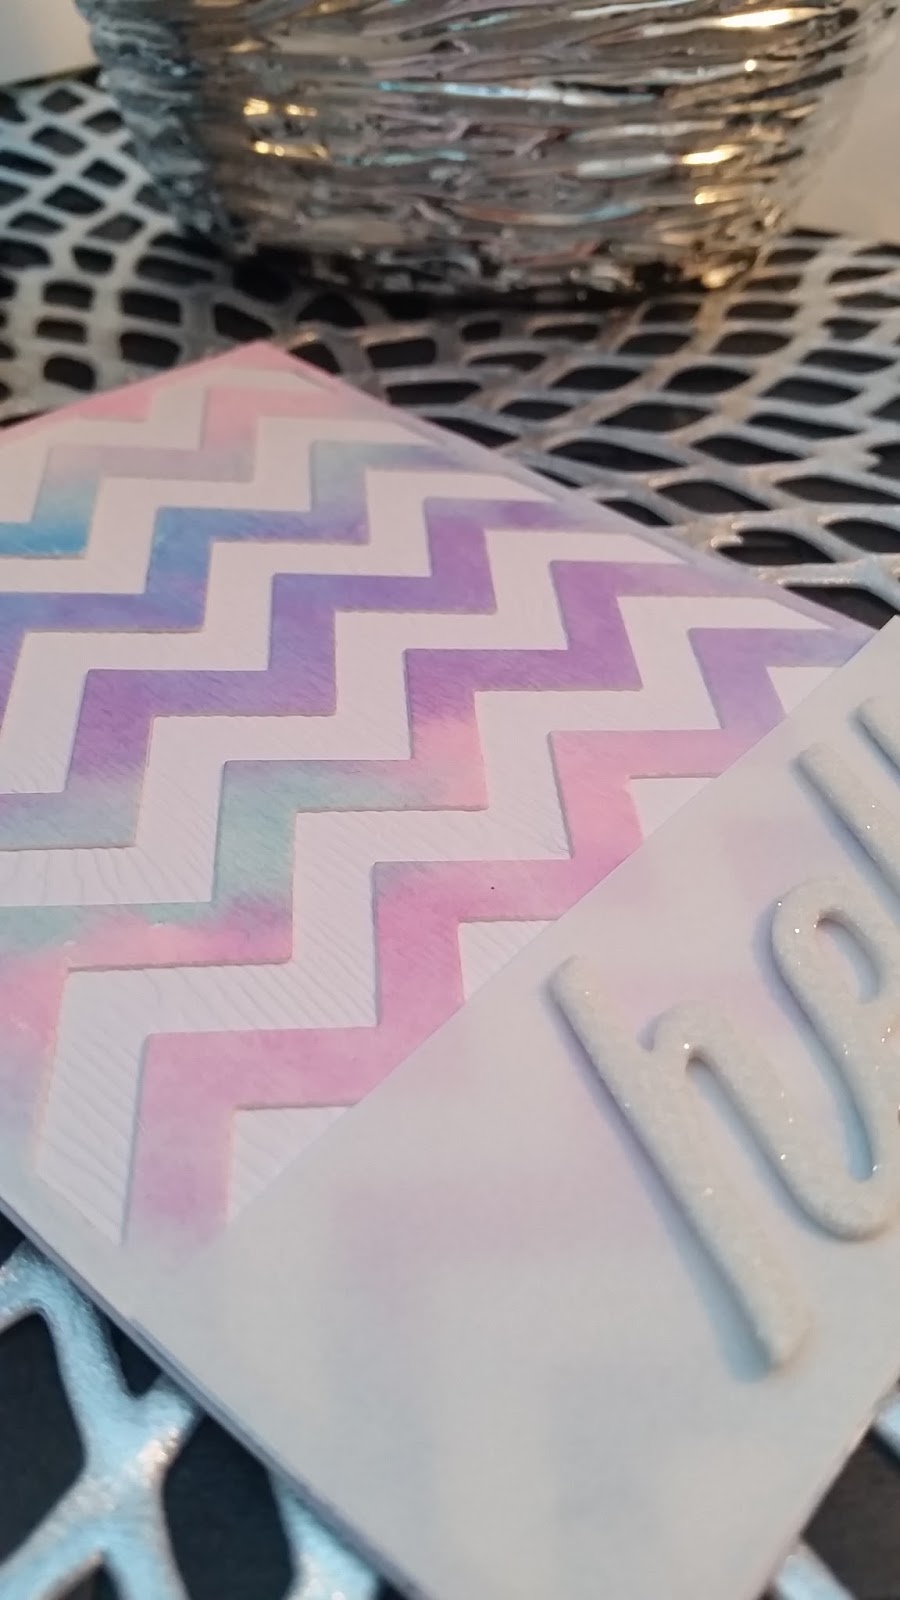
So I took a piece of woodgrain card stock as my base and then my trusty Strathmore heavy weight watercolour paper.  I used some basic watercolours and just painted a messy array of colours taking my inspiration from the pic above.
I meant to use the Circle Coverplate but didn't realize until after I was done that I had grabbed the chevron instead! :(  Since I cut with the sandwich cutting DOWN, it was quite a surprise when I saw what I had done ... but I went with it in the interest of time and proceeded with my card ... :)
I took some Sticky Dot paper and adhered it to the front of a piece of white fun foam and die cut with the Hello die.  I then added Rock Candy Distress Glitter (subtle but sparkly) and a few dots of Tombo Mono Aqua to adhere it to a piece of Linen Texture vellum. (click the picture to enlarge)
I dabbed some Tombo Aqua glue behind the die cut but then remembered that the best thing about this thicker weight vellum is that even dot glue runner doesn't show so I added some to the sides to adhere it better.  Score!
So, that's it .. my super simple card.  Off to hop and check out all the other creations.