Sunday, February 3, 2013

Clean and Simple: Day 3 Stamping Techniques (offset stamping)

Offset stamping looks really cool ... so for my first card, I sort of used the technique as a jumping off point.
And I have always loved when the talented Maile Belles and others do a popped up panel on a card base with only a portion cut off the side.  So I decided to try both of these on a card.  I found this cool wood tape that was in the home hardware section of a Daiso Japanese dollar store (if you can find one, go because they have the coolest things!!).  It is actually wood repair tape and I thought it would be a fun thing to use like washi tape.
I added a strip along the edge and then cut the card front down so the wood tape could peek through.  I stamped the feather from  Studio Calico Snap On in Fresh birch and chocolate and added the sentiment from Hero Arts Everyday Greetings with Memento Espresso Truffle.
To add a bit more interest, I impressed the front panel with my trusty PTI linen impression plate - this is a great choice as it is subtle but adds a little texture.
I popped the front panel up on foam dots and congratulated myself on finding something so useful at the dollar store!  Who knew?!
Since this one was not *really* offset stamping, I made a few more actually using the technique properly.
I used the dotted cloud from WPlus9's Heartfelt Mix and stamped it in Fresh silver lilac and provincial grey and then the sentiment using Paper Smooches Alpha Dots and PTI's BB Polka Dots.  Fresh ink's steel blue and sky blue for the sentiment and dots for a little extra colour.
Since this was a simple one layer card, I used PTI's linen impression plate yet again ...
My next card was made after the sun went down so I apologize for the dark pictures .... I used PTI's Turning a New Leaf using Fresh ink's pear and tuscan olive using the offset stamping.
I added a Smokey Shadow double ended banner die cut and used my new Studio Calico wood veneer letters for the sentiment.


Supplies:
thinking of you 
Paper: Staples 110lb white
Stamps: Studio Calico Snap On, Hero Arts Everyday Greetings
Ink: Fresh ink - birch, chocolate; Memento Espresso Truffle
Misc:  foam dots, Daiso wood tape, PTI linen impression plate

what's up
Paper: Staples 110lb white
Stamps: WPlus9 Heartfelt Mix, PTI Polka Dot basics, Paper Smooches Alpha Dots
Ink: Fresh ink (silver lilac, provincial grey, steel blue, sky blue)
Misc: PTI linen impression plate

hi
Paper: Staples 110lb white, PTI Smokey Shadow
Stamps: PTI Turning a new leaf
Ink: Fresh ink (pear, tuscan olive)
Misc: Studio Calico wood veneer letters, PTI Double Ended Banners die, PTI linen impression plate


Clean and Simple: Day 3 - Stamping Techniques (Gradient Stamping)

I was inspired by Jennifer's information on gradient stamping - what a fun idea!  I have seen the ombre effect around the blogs but hadn't really tried it myself.  I took out some sets to make some cards and had fun getting inky.
For my first card, I used WPlus9 Defining Words in a variety of  Jenni Bowlin inks (spiced tin, soap powder, speckled egg) and  Distress Ink in weathered wood.  I die cut a heart from WPlus9's Heartfelt Mix in PTI's Enchanted Evening and adhered it with foam dots and added some Rock Candy stickles.
 Here's a look at the Rock Candy Stickles - it looks like sugar almost - in person it is a pretty fun effect!
I made a simliar card with a Mat Stack 4 die cut and some sentiments from the ever so cute Studio Calico Snap On stamp set using Versafine Black Onyx for a bold message.  I added a pink heart from WPlus9's Heartfelt Mix stamped in Fresh ink (sugar) on the mat stack.
I used my Papertrey Vintage Tea dye duo to ink up the edges - adds a little more definition between the background and the die cut.
For my next gradient card, I grabbed the gorgeous Lovely Layers stamp set from Papertrey.  I stamped a row of the blossoms (or medallions?) in Fresh ink - sugar, fuschia, red currant and merlot.  I added a sentiment from Fabulous Frames using Fresh ink in chocolate.
 I like the look of the kraft cardstock with the gradient inks ... so simple but really effective.
I continued on my roll of gradient stamping and grabbed a graphic set, also from Papertrey.  Background Basics was designed by one of my favourite modern and clean designers - Maile Belles.  I stamped the circles in sugar at the top but they weren't very visible so changed my idea and stamped the rows in red currant, fuschia, merlot, and chocolate plus the solid ones in fuschia.  I mounted it to a white card base and added the sentiment from Signature Greetings in red currant.
 I kept it flat for easy mailing .... I usually use foam dots but resisted the urge this time! :)
Supplies:
Blue Gradient Heart Card
Paper: Staples 110lb white, PTI Enchanted Evening
Stamps: WPlus9 Defining Words, Heartfelt Mix
Ink: Jenni Bowlin inks (spiced tin, soap powder, speckled egg); Distress Ink (weathered wood).
Misc: foam dots, WPlus9 Heartfelt Mix die, Rock Candy stickles

Love you ... you rock

Paper: Staples 110lb white, PTI Enchanted Evening
Stamps: WPlus9 Defining Words, Heartfelt Mix; Studio Calico Snap On
Ink: Jenni Bowlin inks (spiced tin, soap powder, speckled egg); Distress Ink (weathered wood), Fresh ink (sugar), Versafine Black Onyx; PTI Vintage Tea Dye duo
Misc: foam dots, PTI Mat Stack 4

This is the life
Paper: PTI Kraft
Ink: Fresh ink (sugar, fuschia, red currant, merlot, chocolate)
Stamps: PTI Lovely Layers, Fabulous Frames

Love you so much
Paper: Staples 110lb white, PTI kraft
Ink: Fresh ink (sugar, fuschia, red currant, merlot, chocolate)
Stamps: BB Circles, Signature Greetings


Thursday, January 31, 2013

Clean and Simple: Day 2 - thank you

Another day of the fabulous card making class, Clean and Simple II:
Not sure but this might be more day one than day two but oh well ... I did some masking with an Angled Labels mask I made from acetate and a PTI die. I sponged some Colorbox Robin's Egg ink and then layered Hero Arts Studio Calico lattice background stamp with some Fresh ink in Steel Blue.  I stamped an arrow from Studio Calico Snap On's stamp set with Hero Arts' Cup o' Joe ink - what awesome coverage these mid tone inks have!!  Now that I have some, I see what all the fuss was about. :)

I added the sentiment from  Fabulous by Technique Tuesday using the nice and opaque Versafine Black Onyx. For a final touch, I decided to add some texture using PTI's Linen impression plate.  This is a great stand by!


So have you tried any masking?  How has it gone for you?

Paper: Staples 110lb white
Stamps:  Studio Calico Snap On, Fabulous by Technique Tuesday, Hero Arts Studio Calico lattice background
Inks: Versafine Black Onyx, Hero Arts' Cup o' Joe, Colorbox Robin's Egg, Fresh ink - Steel Blue
Misc: acetate, PTI Angled Labels die, PTI Linen impression plate

Wednesday, January 30, 2013

Clean and Simple - Day 1: Love you more

Whoo hoo - clean and simple, here we come!
So I decided to try my hand at masking after I was inspired by the talented Jennifer McGuire ... I cut out some cloud masks using my Wplus9 clouds with some acetate for reusable masks.  I sponged Fresh Ink: Sicilian Blue and Sky Blue and Colorbox Robin's Egg with a dry baby wipe since I couldn't find my Distress Ink sponges ... :) Well, it worked and that's what's important, right?
I used the  Studio Calico Snap On stamp set for the sentiment and since I wanted a really opaque black, Versafine Black Onyx was my ink of choice.  This is great for a really solid sentiment that is super sharp - it works every time!

I decided that the card needed a little something so I added some blue sparkly Stickles in the bottom corner.

Supplies:
Paper: Staples 110lb white
Ink: Versafine Black Onyx' Fresh ink: Sky Blue, Sicilian Blue; Colorbox Robin's Egg
Stamps: Studio Calico Snap On
Misc: acetate, Stickles, Wplus9 cloud dies


Clean and Simple - Day 1: Keep Calm


I am loving the Clean and Simple Card Making II workshop and used one of the sketches and videos to inspire me.
So it might be a little known fact, but I am not a great (ink) mister - I have tried but have never been very good at it.  But I decided to give it a go again, try it and just let what happens happen.  So I spritzed some Studio Calico Mister Huey's Heirloom Blue and then Studio Calico Mister Huey's Shine over top.  I used a Studio Calico Chevron mask which has a fun graphic look to it.
I then cut out a circle with my Martha Stewart circle cutter and added a sentiment that I (gasp!) did some stamp surgery on.  I stamped 'keep calm and ... on' in Hero Arts wet cement ink and then 'rock' from a different sentiment in Fresh ink steel blue.  They are both from the fun Studio Calico Snap On set - such great graphics and sentiments:

 Above is a closeup that hopefully lets you see the shine from the mist.
I used some thin  foam dots to mount the front panel to the card base.  A little dimension is always good, right?

So, how is your misting?  Are you a pro or still learning like me?

Supplies:
Paper: Staples 110lb white
Ink: Hero Arts wet cement ink, Fresh Ink steel blue
Stamps: Studio Calico Snap On
Misc: Studio Calico Chevron mask, Studio Calico Mister Huey's: Heirloom Blue and Shine; MS circle cutter,  foam dots

Make It Monday #102: Pillow Box #2

So over at Papertrey Ink Ashley Cannon Newell has demonstrated assembly and decoration of pillow boxes.  As I don't have the PTI die so I used a Sugarlime box as my template (love this local jeweler that makes GORGEOUS designs for great prices) and made my own.

I have a gorgeous ink pad from Brilliance (Galaxy Gold) that has a beautiful gold with some sparkle so thought I would use this with a set I haven't taken out in a while.  Maile Belles designs gorgeous sets and this vine set is no exception.
I repeatedly stamped the vines and then added some scor tape and Martha Stewart white gold glitter all the way around as a faux ribbon.
Above you can see a close up which shows all the gold sheen from the ink and glitter.
And here is a shot of both my pillow boxes together.  You can check out my other post here.

Supplies:
Paper: Staples grey 80lb
Stamps: PTI BB: Vines
Ink: Brilliance Galaxy Gold
Misc: scor tape, Martha Stewart white gold glitter

Make It Monday #102: Pillow Box #1

This week, over at Papertrey Ink Ashley Cannon Newell has demonstrated assembly and decoration of pillow boxes.  I don't have the PTI die so I used a Sugarlime box as my template (love this local jeweler that makes GORGEOUS designs for great prices) and made my own.

I made this Monday night but didn't have a chance to photograph and post it ... finally, here it is!
I cut out some kraft cardstock and then die cut clouds for a fun look.  I used some acetate adhered to the inside for little cloud windows.  Some polka dots with Color Box Frost White ink and that was it!
This pillow box is filled with Matcha (Green Tea) caramels.  Who wouldn't love a gift of those, right?  Here is a peek of my other pillow box.  Check it out in this post here.
Pillow boxes are fun and easy to assemble and a great way to package gifts.  Oh, and I didn't use any ribbon because I didn't want to hide the cloud windows ....  I think it's nice to have the goodies peeking through ...

Supplies:
Paper: PTI Kraft
Stamps: PTI Background Basics: Polka Dots
Ink: Colorbox Frost White
Misc: WPlus9 cloud dies, acetate, scor tape


Sunday, January 27, 2013

Passion for Papertrey: black and white challenge #2

I was inspired by the challenge that the fabulous ladies over at A Passion for Papertrey
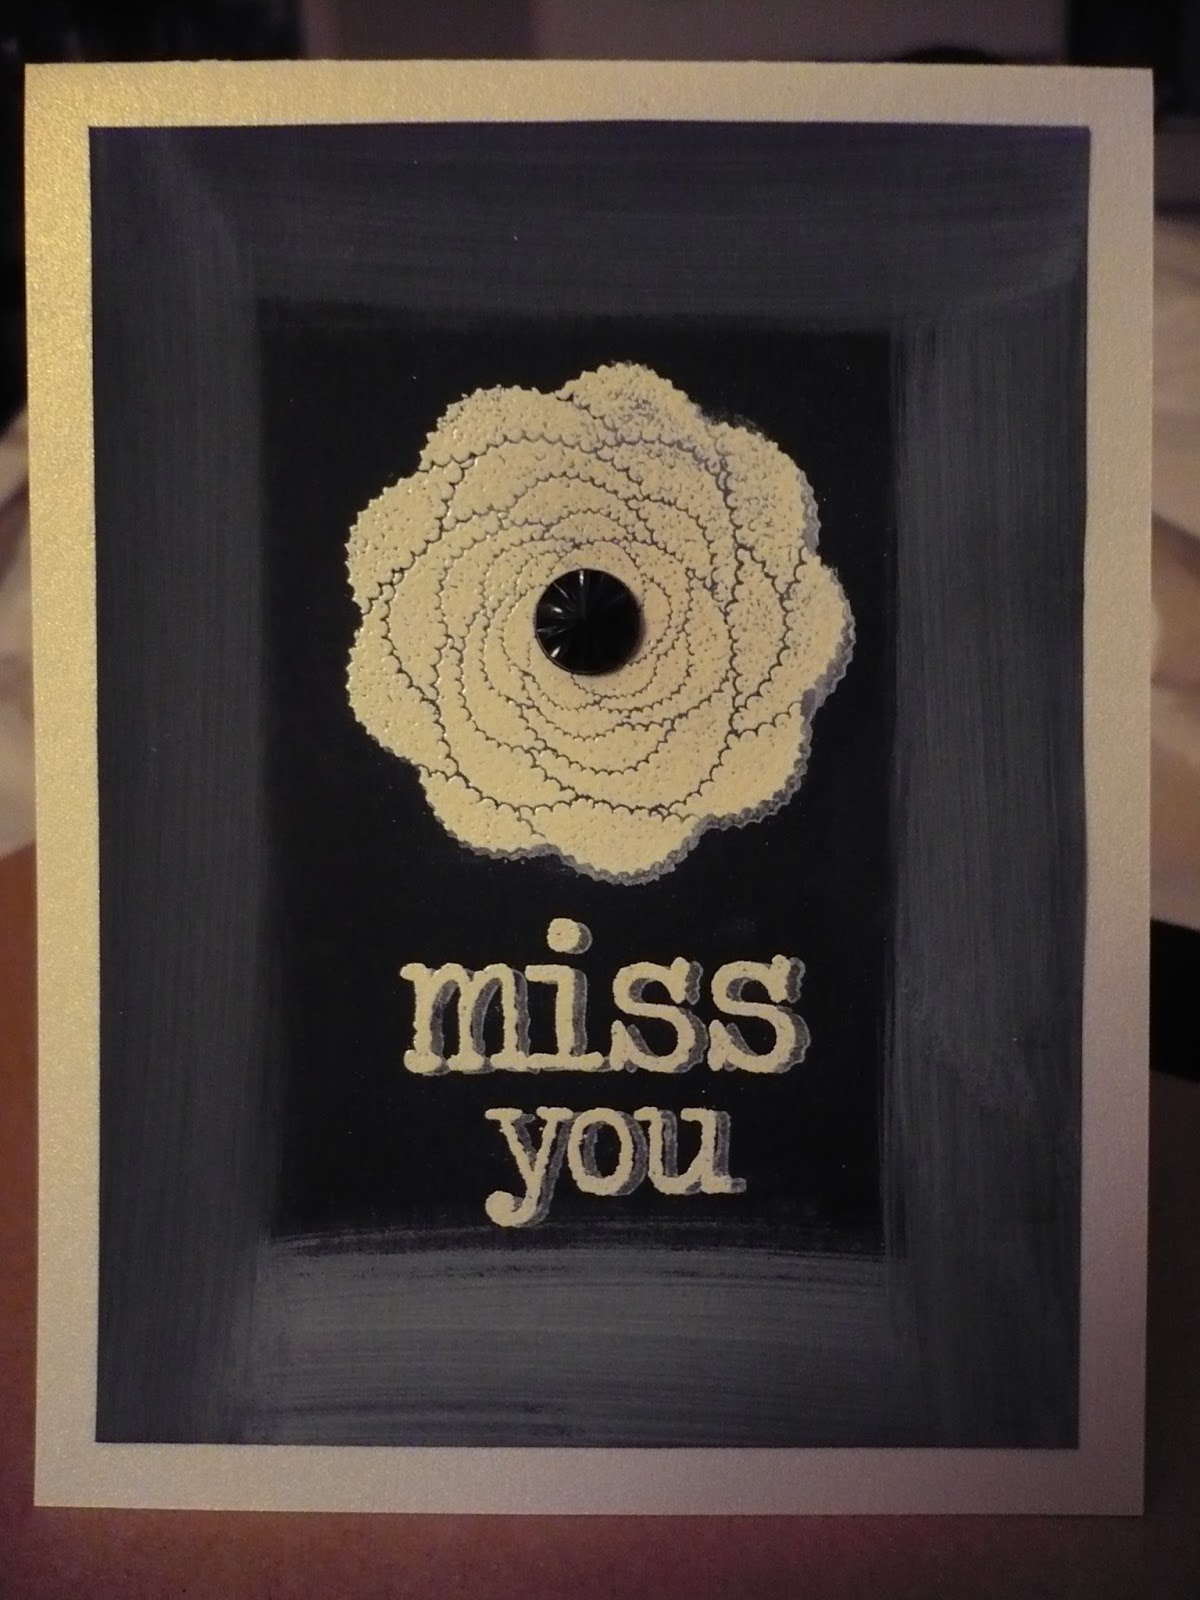
have set out for us: using black and white.  I decided this was the perfect chance to try the chalkboard technique that seems to be all the rage.  I followed Betsy Veldman's tutorial for a Papertrey Make it Monday which was very helpful.  I kept it simpler with less blending for the look I wanted.

I grabbed a set I haven't used in a while - Modern Basics - and stamped the border image with some Versamark and then a sentiment from Movers and Shakers with Versamark too.  I heat embossed both with Zing white embossing powder and then stamped both over top and slightly off withColorbox Frost White Ink.  I used my finger to swipe more Frost White ink over the border stamp and left the rest as is.  I rounded the top two corners of the card front and base, made of white shimmer cardstock and mounted it using foam dots.
So have you made any cards or projects using this technique?  Link it up to this post or my other one here where I tried this technique as well.  I'd love to see what you've made!

Supplies:
Paper: black cardstock, white shimmer cardstock
Stamps: PTI Natural Beauties, Wonderful Words additions
Ink: Versamark, Colorbox Frost White
Misc: Zing white embossing powder, foam dots

Passion for Papertrey: Black and white challenge #1

Over at A Passion for Papertrey, the lovely and talented ladies have a new challenge featuring the classic combination of black and white.  I decided to finally try the chalkboard technique and have some fun with it.  I followed Betsy Veldman's tutorial for a Papertrey Make it Monday which was very helpful.  I kept it simpler with less blending for the look I wanted.
 I stamped a Natural Beauties flower and then Wonderful Words' sentiments with Versamark and then embossed with Zing white embossing powder.  Next I stamped the flowers and sentiments over top and slightly off with Colorbox Frost White Ink. 
I took a wet baby wipe with some Frost White Ink and swiped it around the edges.  I had originally tried blending with my fingers but it looked horrible so went with this instead.
I added a Recollections black sparkly embellishment to add a little bling and mounted the card front to a white shimmer piece of cardstock.

This technique was a lot of fun and I will be trying it again soon!  I made one more card while my supplies were out so make sure to take a look at it too. :)

Have you tried this yet?  Show me what you have created in the comments below or in my other post.  I'd love to see some more examples of this ...

Supplies:
Paper: black cardstock, white shimmer cardstock
Stamps: PTI Natural Beauties, Wonderful Words additions
Ink: Versamark, Colorbox Frost White
Misc: Zing white embossing powder; Recollections embellishment

Thursday, January 24, 2013

Ribbon Girl and Moxie Fab Background challenges: Love you more

Over at the Ribbon Girl blog, their challenge is ivory and pink and I have some great pink inks from Fresh.  Their inks have such great coverage on clear stamps so I use them quite regularly.
I made a cream card base, then layered it with a hexagon embossed piece.  This is a great embossing folder that I love to bits!  I have used it with a lot of letter press techniques and it is gorgeous.
I stamped the hexagon pattern from Studio Calico's Oh Snap in Fresh ink using Sugar.  Then I layered a sentiment from the same set with Fuschia ink.
I added some glue and Rock Candy glitter to all the holes of the o's and r's and mouted this layer with foam dots.  I love the texture of that embossing folder with the repetition of the hexagons in the stamping of the background.  Actually, now that I look at that layer, I could enter this in Moxie Fab's creat your own background challenge too! :-)

I am also entering this card in this week's CASE study challenge of adding texture - I think the hexagon embossed layer works for texture, right?  The cards over there by the DT are simply stunning- check them out here: CASE study challenge #125


Supplies:
Paper: Staples 110lb cream
Stamps: Studio Calico's Oh Snap
Ink: Fresh sugar, fuschia
Misc: Craft Concepts hexagon embossing folder, Rock Candy glitter, glue pen